


Finishing Your Pwani Shawl

We are now nearing the end of the #coastsummerKAL and many of you are casting off your Pwani shawls. If you would like a video tutorial for the Iceland Bind Off I highly recommend this one from Knit Freedom on You Tube.
Once you have finished casting off your shawl you will want to weave in the ends. This is a great article about weaving in ends from Knitty.
Now onto the fun part … Blocking.

I have written about blocking before for Tangled Yarn. You can read my general post on blocking here.
Blocking a shawl is not difficult but you do need some time preferably uninterrupted time (trust me toddlers present an extreme risk to successful blocking, I speak from extensive experience in this department).

There are a few bits of ‘kit’ that you need to block you shawl and a few bits of ‘kit’ that are lovely to have, and will help enormously, but are strictly optional.
You'll need:
1) Luke warm water
2) A vessel to hold your water (the sink, bath, a bucket, plastic box etc)
3) A flat surface, that you can pin into and you can leave your shawl to dry
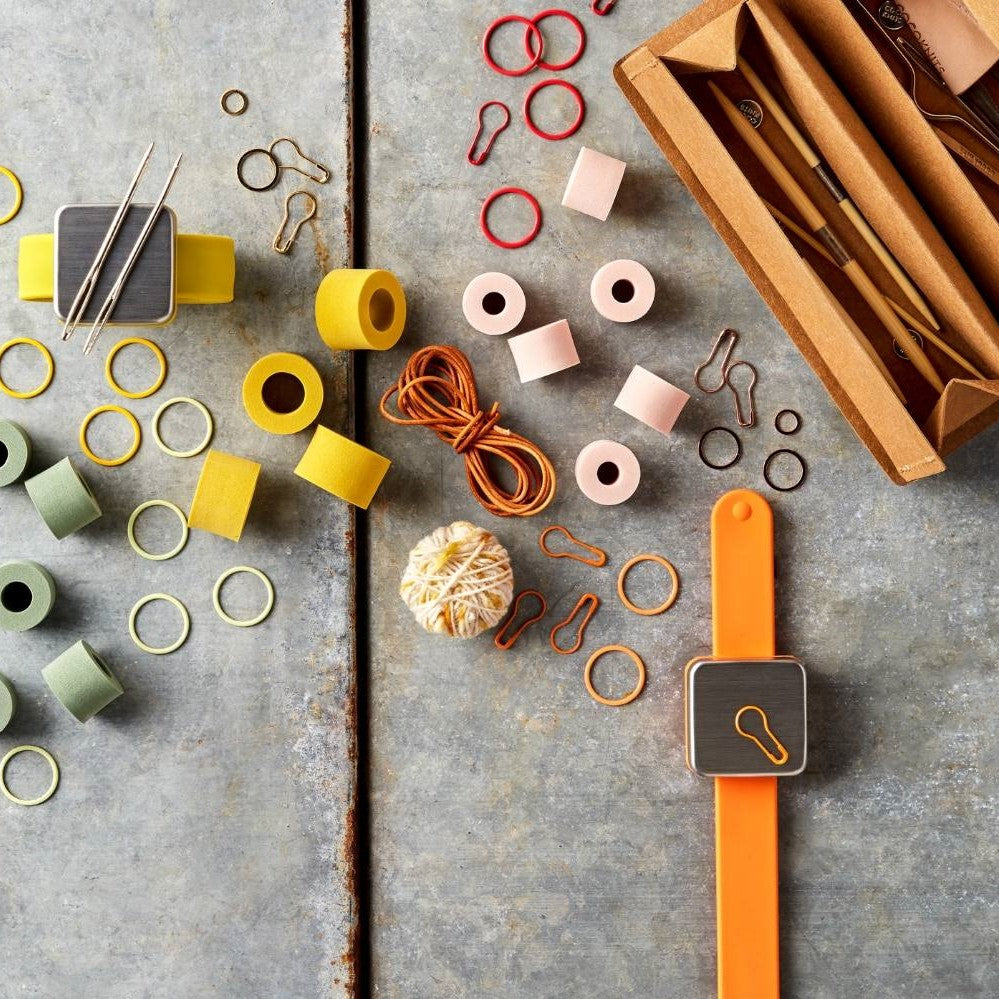
4) Pins (T-pins would be great but you can get away with dress making pins at a push)
5) Some time!
Optional extras:
1) Wool wash. Soak is fantastic; it gently cleanses the wool and leaves your shawl smelling delicious too. Unless you prefer unscented things – Soak has that covered too. Other wool washes are great too.
2) Blocking wires and T-Pins While these are definitely optional I would highly recommend investing in a set if you plan on knitting a few shawls, they are incredibly useful for blocking shawls and allow you to achieve far superior results when compared to using only pins.
Let’s get started…
A note about colour:If you have used more than one colour be careful about yarn the bleeds colour on it’s first wash. It is pretty normal for hand dyed yarns (and some commercial yarns) to bleed on their first wash. If you are worried about the colour bleeding you can use some vinegar to soak your knits in first, this helps to make the yarn colourfast. This is especially important to consider if you have a bold colour (red is often guilty of colour run) and a pale colour (white or cream).
THE BLOCKING PROCESS..
Before you start take a good look at your pattern and the photographs of the shawl. Think about the final shape, dimensions and parts of the shawl you want to accentuate.
Step 1: Soak you shawl in lukewarm water for about 30 minutes.
Step 2: Carefully take the shawl out of the water and press as much excess water from your knitting. Do not wring the knitting or twist it in any way, the fibres are delicate when wet and you do not want to ruin your beautiful shawl.
Step 3: Place your knitting on a large towel and carefully roll the knitting up inside the towel. Press the towel to get all the excess water from the knitting; I often stand on the towel for maximum effect (or I let my toddler jump up and down on it, she loves it).
Step 4: Carefully unwrap the shawl and place it on your flat surface.
Step 5: Thinking about the shawl shape and areas you want to accentuate start to block the shawl. If you are using blocking wires start to run the wire through the edges of the shawl, this will differ for each shawl. Try to work in a systematic way, focussing on the most important features and the symmetry (or asymmetry) of the shawl.
The diagram below (click diagram to enlarge) shows the steps I took to block the Pwani shawl.

HINTS AND TIPS FOR AN ENJOYABLE BLOCKING EXPERIENCE

1) If you need to use more than one blocking wire to get the length you need, overlap the wires at the join. This will give added strength to the join. Use a few T-Pins to secure the wires.

2) Angle your T-Pins to secure the wires and provide maximum control.

3) Use the eyelets to thread your blocking wires through.
I hope this mini tutorial helps you get the most from your Pwani shawl.
Happy knitting,
Clare
About the Author
 Clare Devine is a writer and designer. Originally from South Africa she has nomadic tendencies and is currently knitting her way around the UK. She is passionate about all things fibre related (especially if it’s grey), knitting, travel and sunshine in equal measures.
She regularly blogs at www.yarnandpointysticks.com. You can find her on Ravelry as Knitsforklipskaap, Twitter as @_ClareDevine and Instagram as @Clare.Devine.